Basic flowers
Idea and instructions by Anna-Carin Betzén
Bushes in bloom are quick and easy to make, and the same method is used for adding flowers to other greenery, like trees. Flowers on stems take a little longer, but you only need a small grouping to accent your garden, and you'll definitely impress those who spot them.
These instructions can be used in several small scales, as you're working from an in-scale sketch rather than fixed measurements. Please visit my garden center for an overview of all my free flower DIYs and other files about making flowers.
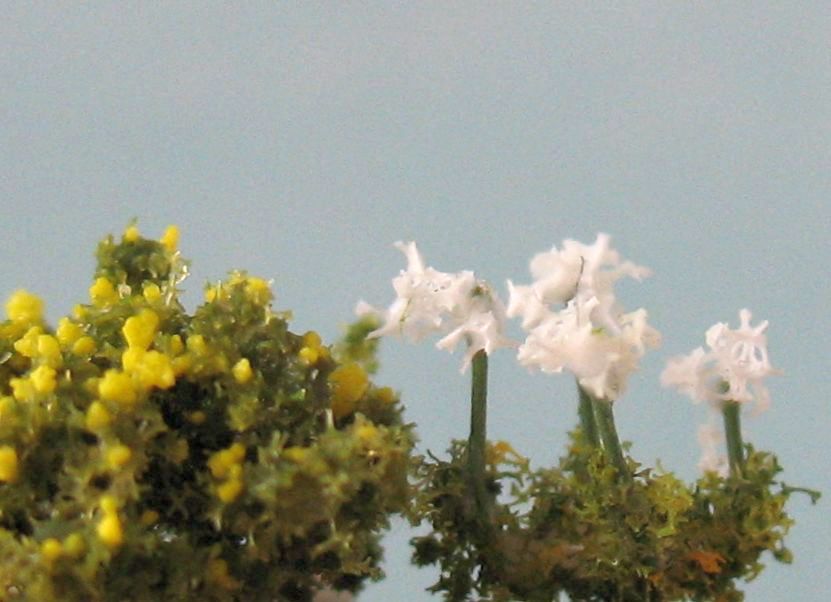
Flowers on stems
Use this method for flowers with a single stem, that doesn't branch out. This is just a summary of the method, without going into details on what supplies to use for flowers and leaves.
Supplies and tools
- Thin brass wire (I used 34 gauge (about 0.15 mm) for 1:144 scale)
- Green craft paint (I used FolkArt #923, "clover")
- Wire cutters
- Tacky glue
- Materials for flower and leaves
- Tweezers
- Drill, pin, or other tool for planting the flowers
Stems
Cut a length of wire, about 30 to 60 cm (1 to 2 ft). Find a place where you can hang it while the paint dries.
Put a drop of green paint on your index finger, place the wire in it and your thumb on top. Pull the wire through the paint a couple of times so it's covered all over. Bend one end into a hook, hang it up and leave to dry.

Cut the wire in shorter pieces as you need it; I like mine to be about 4 cm (1½") long for ease of handling.
At the lower end, bend about 1 cm (½") at right angles to the rest.
Adding flowers and leaves
Prepare an in-scale sketch of the flowers you want to make. My flower size reference sheet shows some different flowers in several scales. Make sure you scale the total height correctly, then eyeball the size and placement of flowers and greenery.
Select flower materials that give the effect you want in the scale you've selected. My page on flower-making supplies has some suggestions.

Hold the wire next to the sketch of the flower. You get a good grip on the bent part of the wire, so the rest can be held flat against the paper for accurate measuring.
Apply glue and flower material according to the sketch (depending on the effect you want and the supplies you use, you can apply glue to the wire and dip or roll in your chosen material, or glue on bits one by one).
If you make several flowers assembly-line style, you can use a block of styrofoam to stick the wires in while the glue dries.
Add greenery in the same way. (For a grouping of flowers, you could also glue greenery to the ground and then insert the bare flower stems - in that case, skip greenery at this step.)
Planting
If the flowers are complete with leaves and all, make holes in the ground with a pin, drill or other suitable tool. Trim the stem of each flower to a suitable length for gluing into the holes, dip the end in glue and "plant" it using tweezers.
For a grouping of the same kind of plants, you can glue greenery to the ground, as tall as the leaves on the plants should go. Trim the flower stems at ground level, dip in glue and stick them in the greenery.
If you're about to make more flowers, you can save the cut off wire and reuse for stems.
Sprinkled flowers
For applying flowers on bushes, trees, climbing plants, or grass.
Supplies and tools
- Tacky glue or other white glue
- Disposable plastic cup and stirring stick
- Dishwashing liquid or other detergent
- Watercolor brush (a soft brush that will hold a lot of water)
- Flower material suitable for sprinkling (crunchy flowers, colored sand, or anything else that gives bright little dots of color)
- Tweezers (optional)
Applying flowers with watered down glue
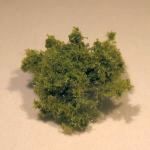
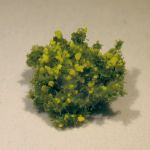
Glue the greenery in place and let the glue dry. (Bushes from clump foliage, as here, can be treated on a bit of parchment paper or other non-stick surface, and glued in place afterwards.)
Mix white glue and water to look like milk. Add a little dab of detergent (this helps the liquid to soak in).
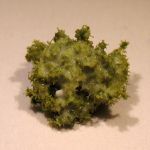
Load the brush with glue-water mix and soak the greenery with it.
If some of the glue-water mix leaks onto painted surfaces etc, try to wipe it off at once, as it may dry shiny on smooth surfaces.
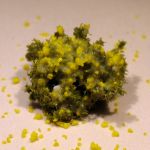
Sprinkle on flower material, adjusting with tweezers if you like.
Let the glue dry.
Shake or blow off excess flower material.