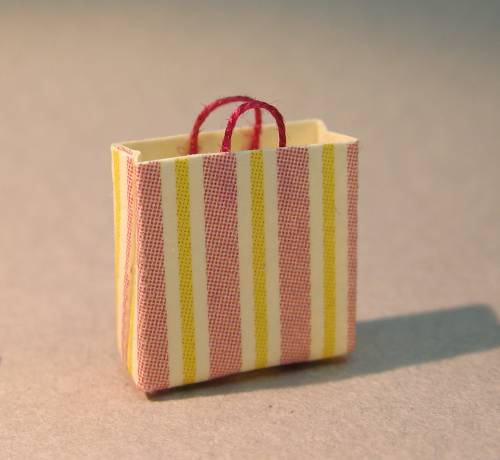
1:48 paperbag
Idea and instructions by Anna-Carin Betzén
A paper bag is easy to make if you use a piece of stripwood as a mould. Vary the size and/or omit the handles to make giftbags, grocery bags and other types of paper bags.
Supplies and tools
- A piece of stripwood, e.g. 4×10 mm (5/32"×3/8") and about 5 cm (2") long, with the end cut square and neat. The dimensions of the stripwood determine the width and length of the paperbag.
- Sharp scissors
- Tacky glue
- Toothpick (for applying glue)
- Mini wallpaper, origami paper, or other suitable paper (I used 1:24 scale wallpaper from Brodnax Prints)
- Sewing thread or similar for handles (I prefer cotton thread)
- Pencil and ruler
- Triangular needle file (optional)
Paperbag
Mark the desired height of the paperbag on the wood.
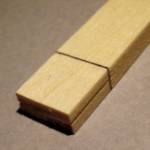
Optional: If you want your bags to have a crease down the sides, file a narrow groove with down the center of the edges of the strip, as shown.
The groove should run from the end of the stripwood to slightly beyond the line across the wood.
Cut a strip of paper long enough to go around the stripwood and overlap a bit. The width should be the height of the paperbag plus about 3/4 of the thickness of the stripwood.
Wrap the paper strip around the center of the stripwood piece. Press your finger against the edges of the wood, one by one, to crease the paper.
Trim down the overlap and glue to form a tube. The tube should fit snugly, but still be easy to move (avoid glueing it to the wood!).
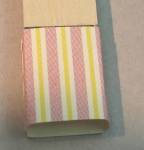
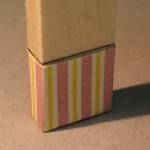
Slide the tube down to the end of the stripwood, aligning the top edge of the paper with the line across the wood (a bit of the paper will extend beyond the wood).

Fold in the short edges, continuing the fold onto the front and back.
Crease the front and back too.
Glue the flaps to each other with a little bit of glue.
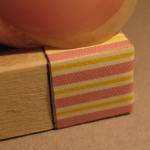
Push the stripwood down against the table for a minute or so while the glue sets. This will make the bottom as flat and neat as possible.
Check that the bag hasn't stuck to the wood.
Optional: If you've made grooves on the sides of your stripwood mold, run the tip of your fingernail along them to crease the paper.

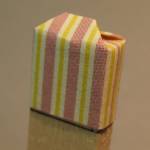
Slide the bag off the mold.
If you've creased the sides of the bag, push the front and back together at the sides, making the sides to fold on the creased line, and press flat to define the crease.

Cut bits of thread for handles.
Glue one end of the handle in place, let the glue set...
... and then glue the other end.
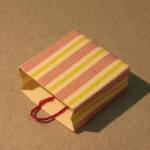
Repeat for the other handle.
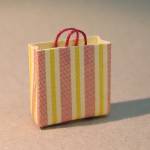
Your paper bag is finished.