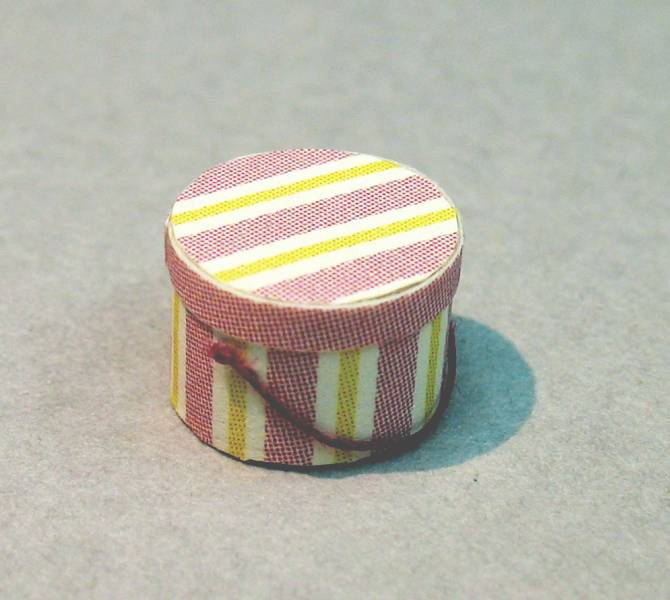
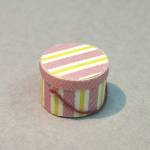
1:48 hatbox
Idea and instructions by Anna-Carin Betzén
This non-opening hatbox is made by covering a dowel slice with paper. It's sturdy, easy to make, and requires virtually no measuring. Use the same method to make other round boxes, perhaps without the cord handle.
Supplies and tools
- Wood dowel, e.g. 6 to 8 mm (1/4" to 5/16") diameter
- Miter box and fine-toothed saw
- Sharp scissors
- Tacky glue
- Toothpick (for applying glue)
- Mini wallpaper, origami paper, or other paper to cover the hatbox (I used 1:24 scale wallpaper from Brodnax Prints)
- Heavy white paper (optional, for the underside)
- Sewing thread or similar for carrying cord (I prefer cotton thread)
- Pencil and ruler (optional)
When trimming off excess paper along the edge of the wood, for best results rest the inside of the scissors' topmost blade against flat against the side of the wood. That way, the cut will be perfectly aligned with the edge. When trimming around a round piece, I usually go around it twice - the first time I remove the bulk of the paper, and the second time I trim off any little bits that remain, for a smooth shape.
Apply the glue in a thin layer; when you press the paper in place, there should only be a few little beads of excess glue oozing out somewhere around the edge. Wipe them away with a clean toothpick, otherwise they'll dry into bumps.
If you make three or more boxes, assembly-line style, you won't have to wait for the glue to set!
Hatbox
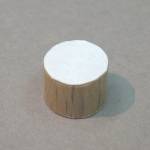
Cut slices from the dowel, e.g. 3 to 5 mm (1/8" to 3/16") thick. Trim off any fuzzies with scissors.

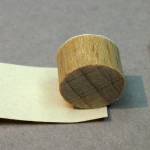
Optional: for a neat underside, glue the dowel slice to a piece of heavy white paper.
When the glue has set for a few minutes, trim off the excess.
(I wouldn't bother to cover the bottom if the box will be glued into a setting straight away, but it's a nice touch if you e.g make boxes for a gift or swap.)
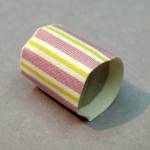
Cut a strip of wallpaper that is a bit taller than the dowel slice, and long enough to go around it with a bit to spare.
Glue one end of the strip to the dowel
(having one end attached will make it easier to apply the rest smoothly, as the strip won't slide around).
When the glue has set, apply glue to the dowel and apply the rest of the strip (or glue half at a time, if you prefer).
Butt or overlap the ends.
Cut down gradually towards the end of the dowel, to get the scissors in position to trim off all excess paper.
Trim excess paper from the other side too.

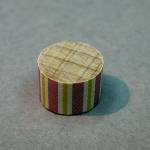
Glue a bit of wallpaper to the top of the box.
Hint: if you want to center a design on the top of the box, cut a square that is a little larger than the box and has the design centered on it.
Then glue the box centered on the back of the square.
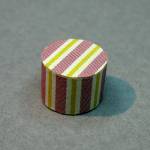
Trim excess paper from the lid top.
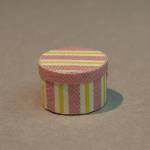
Cut a narrow strip of wallpaper and glue around the box to form the edge of the lid.
(Unless you use striped wallpaper, you may want to measure and mark the width before cutting.)
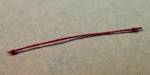
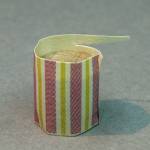
Tie two knots on a piece of thread, trying out the spacing so the length looks right when it's glued in position on opposite sides of the box.
Trim off the exess close to the knots.
Glue the handle in place a little below the edge of the lid, draping down.