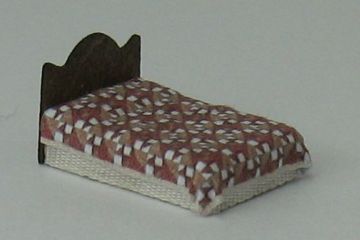
1:144 scale paper printie quilt
Idea and instructions by Anna-Carin Betzén
There are methods for preparing larger scale printed paper quilts (usually involving glue and an added paper backing), to make them look more fabric-like and the thickness more in-scale.
When a couple of miniaturists were discussing how to make that technique work better in 1:144 scale, I came up with this slightly different method that seems to work just fine.
Supplies
- Quilt printed on paper
- Plastic wrap
- Tacky glue
- Scissors
Improving a paper printie quilt
Cut out the quilt roughly, leaving a margin at least 5 mm or 1/4" wide (this will be trimmed off later).
Cut a piece of plastic, about the size of your hand.
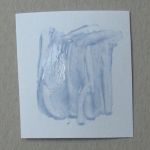
Spread a thin layer of glue on the back of the quilt, but not very far onto the white edge (the white edge around the quilt will act as a buffer, so glue won't seep out and stain the print on the front).
(In case you wonder why the glue is blue, I tinted it just so that it would show in the pic!)
Stick it on the plastic wrap, near the center.
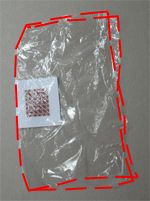
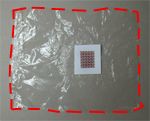
Fold the wrap in half to cover the quilt. This will help protect the printed side.
Immediately crumple it up into a little ball.
Smooth out again, and repeat over and over again until the quilt is soft and equally wrinkly all over.
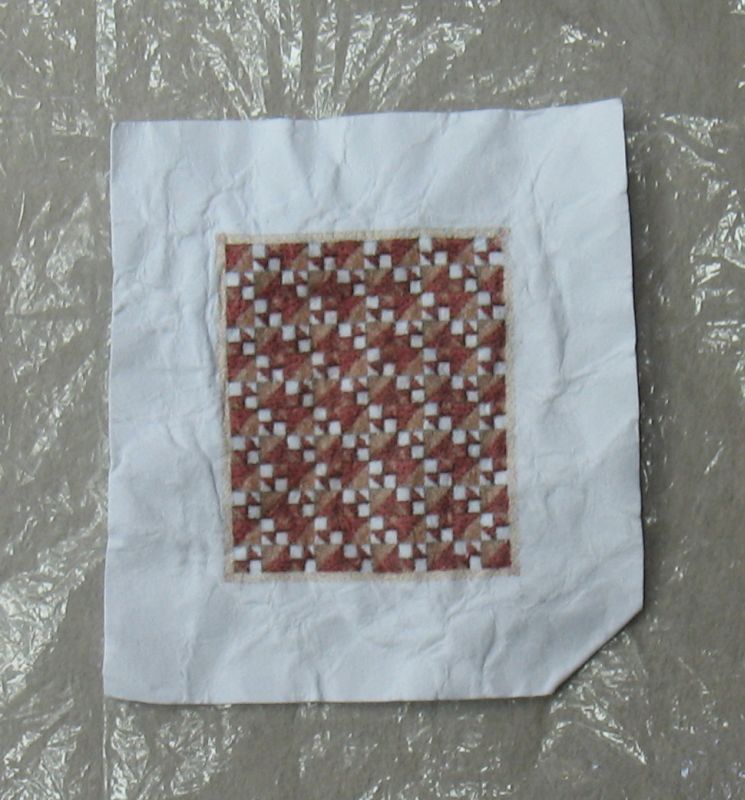
Smooth it out one final time, opening up the plastic wrap, and leave the quilt to dry.
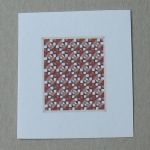
The quilt should be finely wrinkled as shown (click on this photo for closeup).
When dry, peel off the plastic wrap and trim off the edge around the quilt.
Drape and glue it in place as desired.
My comments
I've also tried crumpling without glue, but then the quilt tended to crease at the same places over and over again (the end result looked puckered rather than finely wrinkled).