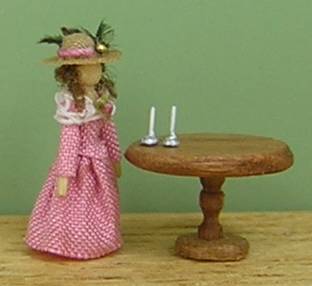
1:144 scale candlesticks
Idea and instructions by Anna-Carin Betzén
Plain candlesticks in 1:144 scale. I've used these on the mantleshelves in both rooms in my Georgian townhouse.
The candlesticks can have a round or a square base. Square bases were especially popular during the second half of the 18th century.
Supplies and tools
- Thin wire; I used #34 brass wire (0.16 mm diameter) which is pretty much in scale. Avoid copper wire, as it's impossible to keep it straight when it's this thin.
- Circles or squares about 1 mm (1/32") across, cut or punched from thin card
- Two bits of dowel or two sturdy pliers with good gripping surfaces, for straightening the wire
- Wire cutter (preferably a precision one, for neat cuts)
- Reverse tweezers
- Post-it notes
- Tacky glue
- Paintbrush
- Paint for the candle and candlestick - preferably one of the brands sold for use on plastic modelling or wargaming, as they stick well to both metal and glue. There are both water-based and solvent-based brands.
Straightening wire
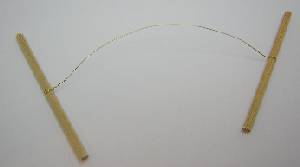
Cut a 15 cm (6") or so length of wire. Secure the ends to the dowels, or grip them firmly with the pliers.
Pull the pliers apart, so the wire is stretched tight. Now continue pulling, and you'll suddenly feel the wire start stretching and lengthening. Stop pulling, now you're done.
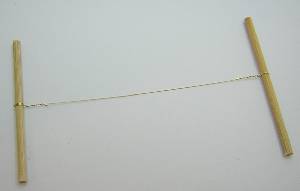
Isn't it amazing how this simple action straightens the wire completely?
Making a candlestick

Stick a card circle (or square) on the sticky part of a post-it note.
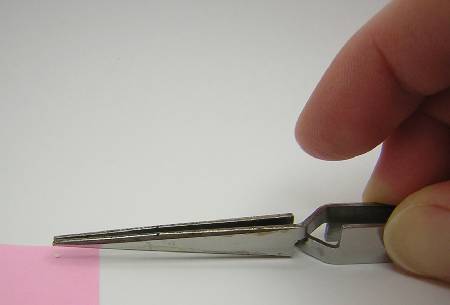
Place the reverse tweezers on its side, resting on the table and with its tip over the card
circle.
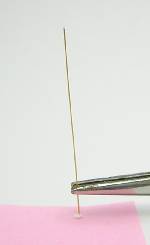
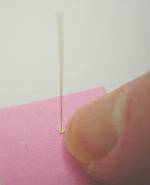
Cut a piece of the straightened wire, about 5 cm (2") is a convenient length.
With the tweezers still on the table, grip them as in the pic above and squeeze to open so you can place the wire in the jaws.
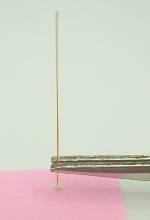
The wire should sit straight vertically, with the bottom end touching the circle. In this pic my wire is leaning, and needs to be adjusted. Squeeze slightly to open and adjust the wire,
repeating until it's in the right position and angle. The long piece of wire makes it easy to see if it's straight or not.
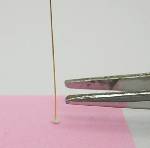
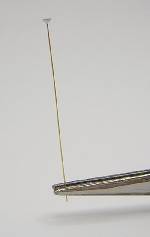
Carefully lift the tweezers away from the circle (don't sqeeze!).
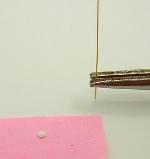
Put a glue mound on the circle, covering the entire top.
Again, lift the tweezers without squeezing. Put it down with the end of the wire centered on the circle. The tweezers, resting on the table, will hold the wire in position while the glue
dries.
When the glue has dried completely, squeeze the tweezers to free the wire.
The circle and the glue mound on it form the base of the candlestick. For more advanced designs, you could apply glue around the wire too, or use it to sculpt the base (either now or after
you've removed the candlestick from the post-it note; just remember to let the glue dry before you proceed).
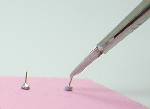
Nudge the circle with your fingernail to pop it off the post-it note.
Painting
Holding onto the wire, paint it your chosen color. To form the candlestick's stem, let the paint extend as far up the wire as you like.
Here I've stuck the wire in the reverse tweezers afterwards, to let the paint dry.
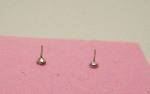
Cut the wire at the desired height. Mine are about 2.5 mm (3/32") tall in all. Use the cut-off wire to make more candlesticks if you like.
Stick the candlesticks to a post-it note for the final step.
Paint the candles white or cream.