1:48 Viking roombox
Over time I've made some Viking accessories for my Viking couple, and eventually I wanted to make a roombox for it all. I chose to finish it as part of a house, both inside and out.
Sweden's first town, Birka, consisted of small houses like this. On my Visit the vikings page, I take you on a guided time-travel trip to Birka.
Viking-age houses
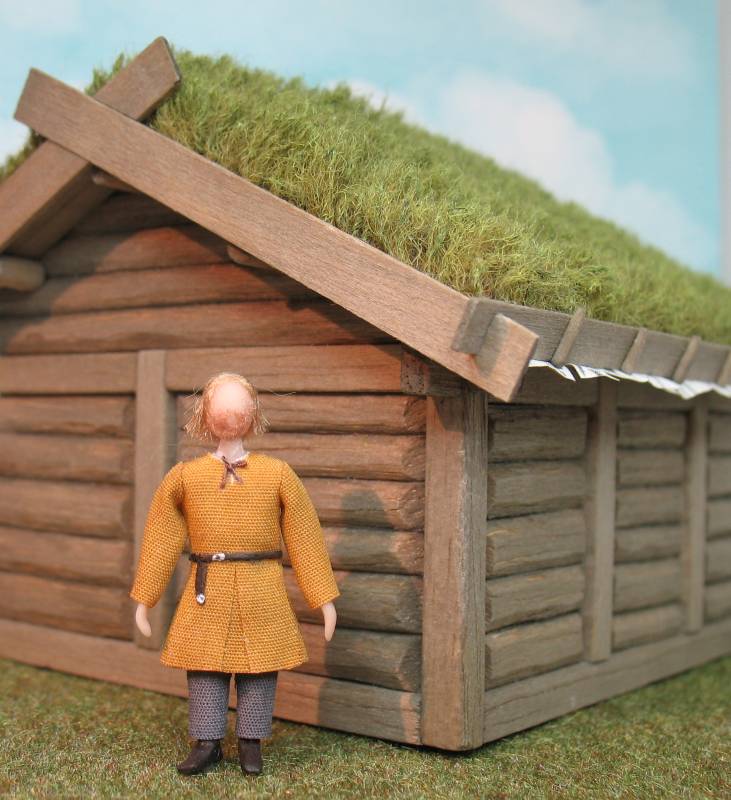
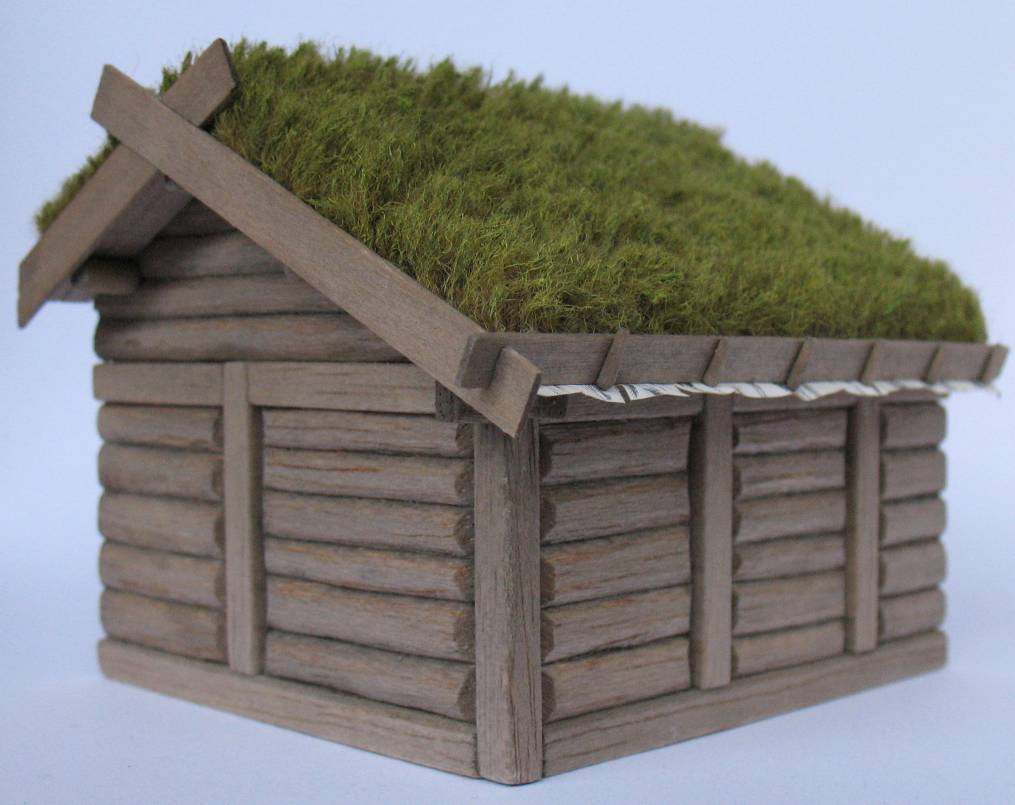
In Viking-age Scandinavia, houses were built in a range of different techniques. This house is built from cleft logs tenoned into corner (and intermediate) posts. Other techniques in use were thick vertical planks set side by side in a trench or on a sill, half-timbering (mainly in southern Scandinavia, where there's less wood), and probably also corner-timbering (a.k.a. log houses). The roofs were likely covered with thatch, wood planks, wood shingles, or sod. I assume they were water-proofed with birch bark, like similar roofs in vernacular buildings of later times.
House sizes varied too. They were usually rectangular, 3 to 8 meters (10' to 26') wide and 4 to 40 meters (13' to 130') long (the large ones are called longhouses). In southern Scandinavia there were also pit houses, where the floor was up to 1 m (3') below the ground, and the roof likely rested directly on the ground.
Furnishings
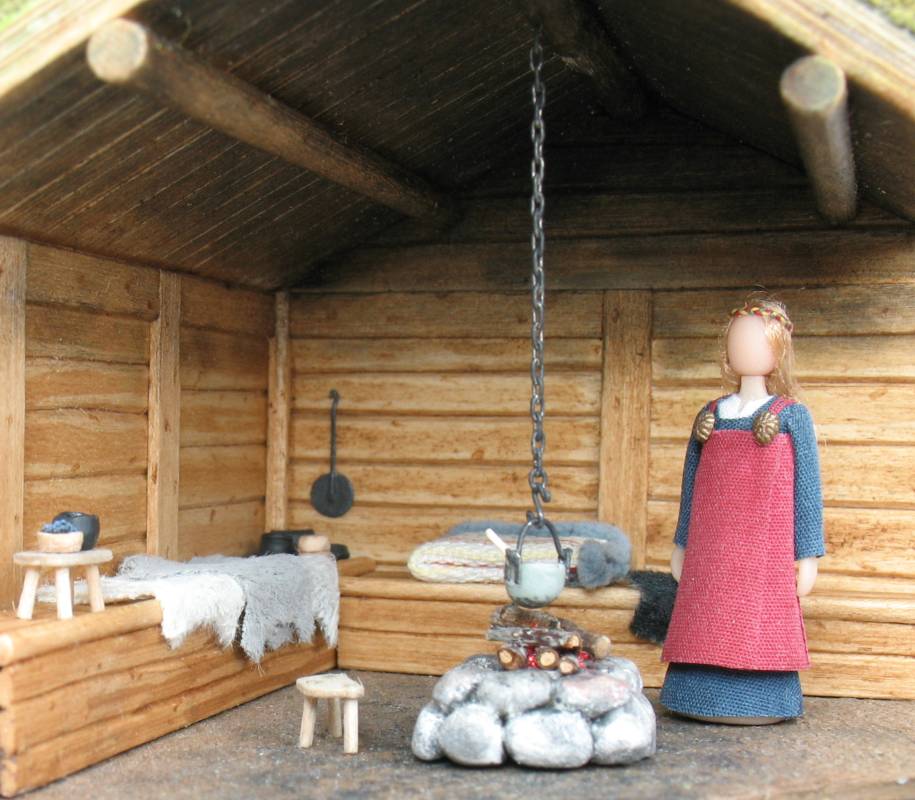
Built-in benches along the walls are used to sit, work, and sleep on. They were often filled with dirt to help insulate the house.
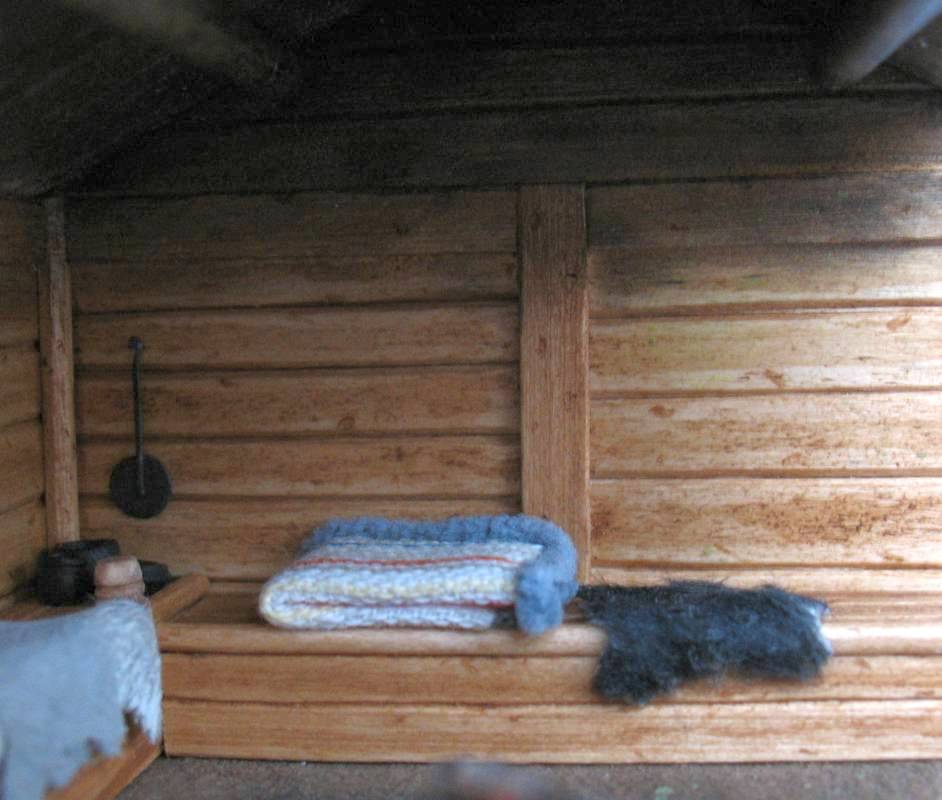
Sheepskins make the benches more comfortable for sitting and sleeping. A single sheepskin is too small to sleep under, so I'm guessing they would've stitched a couple of skins together, and perhaps lined it with fabric. It's on the bench in the back of the room. I cut the sheepskins from some fabric that had a short fur-like pile and an animal-skin print.
High-status homes could have beds, and a log chair for the master of the house.
Otherwise, there was very little furniture.
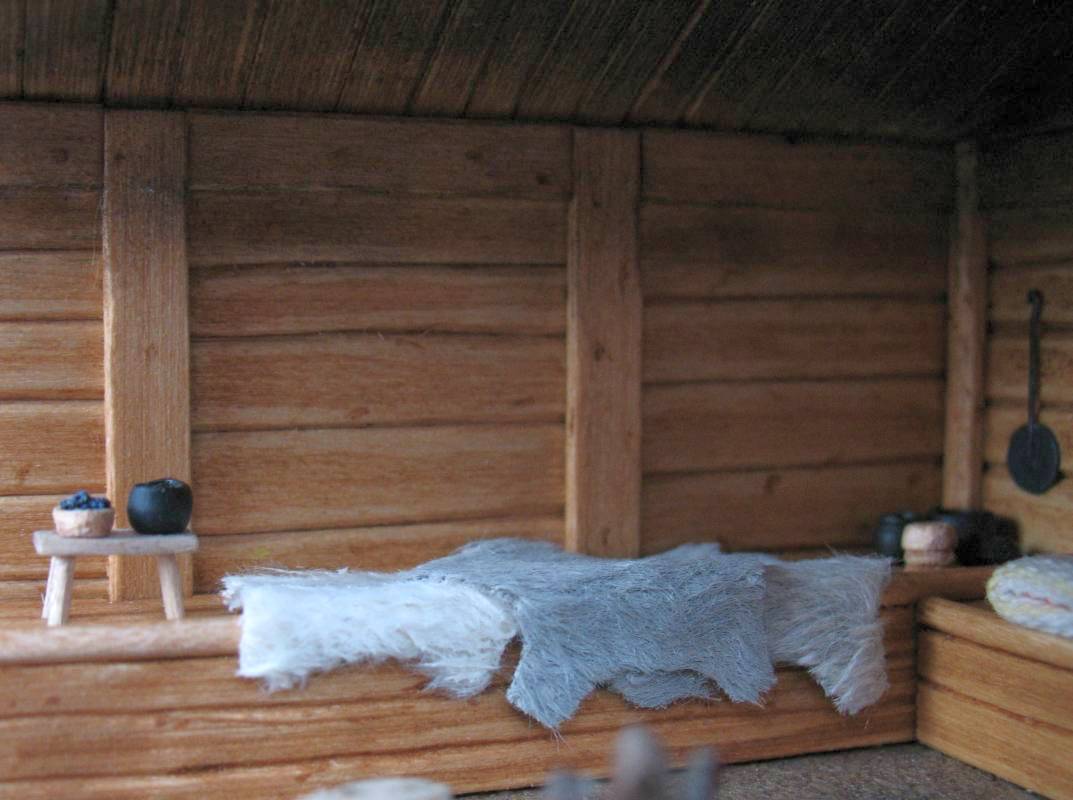
Archeological finds include a stool and a very low table, and chests for tools or valuables.
I think the table would've been used on top of the bench; here I've put a bowl of blueberries and a jar of mead on it.
The stool might've been convenient for milking or when tending a pot on the fire.

A fire is burning on the central hearth on the earthen floor; there would've been a smoke hole in the roof above. The ceiling and roof beams became black with soot over time. The soapstone pot (made from Fimo) hangs from an iron chain, which has a double hook so the pot can be hung at various heights, to adjust the heat.
Cooking utensils are stored in the corner. There's an iron pan for baking round loafs, some black-fired pottery (Fimo) and a stack of wooden bowls stored upside down to keep the dust out.
Techniques I used
I built the roombox from 2 mm (3/32") plywood and covered it with 1 to 2 mm (1/32" to 3/32") thick sheetwood and stripwood. The inside is covered with basswood, but I used balsa for the outside to make it easier to carve the round logs. All wood on the exterior is aged with Weather-It (from a model railroad store).
The sod roof is made using a technique that Swedish model railroaders use to model fields and pastures - successive oil paint washes are applied to natural-color synthetic fur (unfortunately, this method only works with oil paint). It took a lot of turpentine - I kept the roombox outdoors until the smell was gone!

I wanted the interior to have the warm color of aged pine, and visible knots, so I came up with a faux-painted finish for the basswood. First I sealed the inside of the walls, ceiling and beams with Danish oil, and let it dry. Then I applied a wash of burnt umber artist oil paint diluted with artist quality turpentine, and let that dry. Next, I used a toothpick dipped in burnt umber oil paint to mark knots on the wood. It was a smelly process due to the turpentine, and it literally took weeks to dry (outdoors), but I really liked the results. Hopefully one could get similar results with acrylic sealer and diluted acrylic artist's paint.
As you can see in this pic, the floor of the box isn't a full rectangle. The slant of the roof at the front corner obscures the interior, so I chose to cut off the corner of the floor, and a corresponding part of the roof, to make it easier to view and photograph.